
A while back I had renovated a home office for a customer. I noticed back then an old office desk he had. It was a full size desk (3’ x 5’) and it looked even larger in this room. I remember thinking even then that it would be a beautiful piece to refinish maybe put on a new top as this one was linoleum with an aluminum trim. Fast forward, so the customer calls and says he’s thinking about refinishing that desk and asked if I was interested. Love to, I said.
So we got together to talk about what he had in mind. He knew for sure that he wanted a darker stain and he was also considering replacing the desktop with granite or marble.
Now that I had a pretty good idea of his vision for the desk it was time to get it out of his house and to my shop. This is a large and heavy desk and I wasn’t looking forward to getting it down an L-shaped staircase. Fortunately the construction of the desk was two drawer cases with a center shallow drawer between them all screwed together with the desktop holding it all together with screws and brackets.
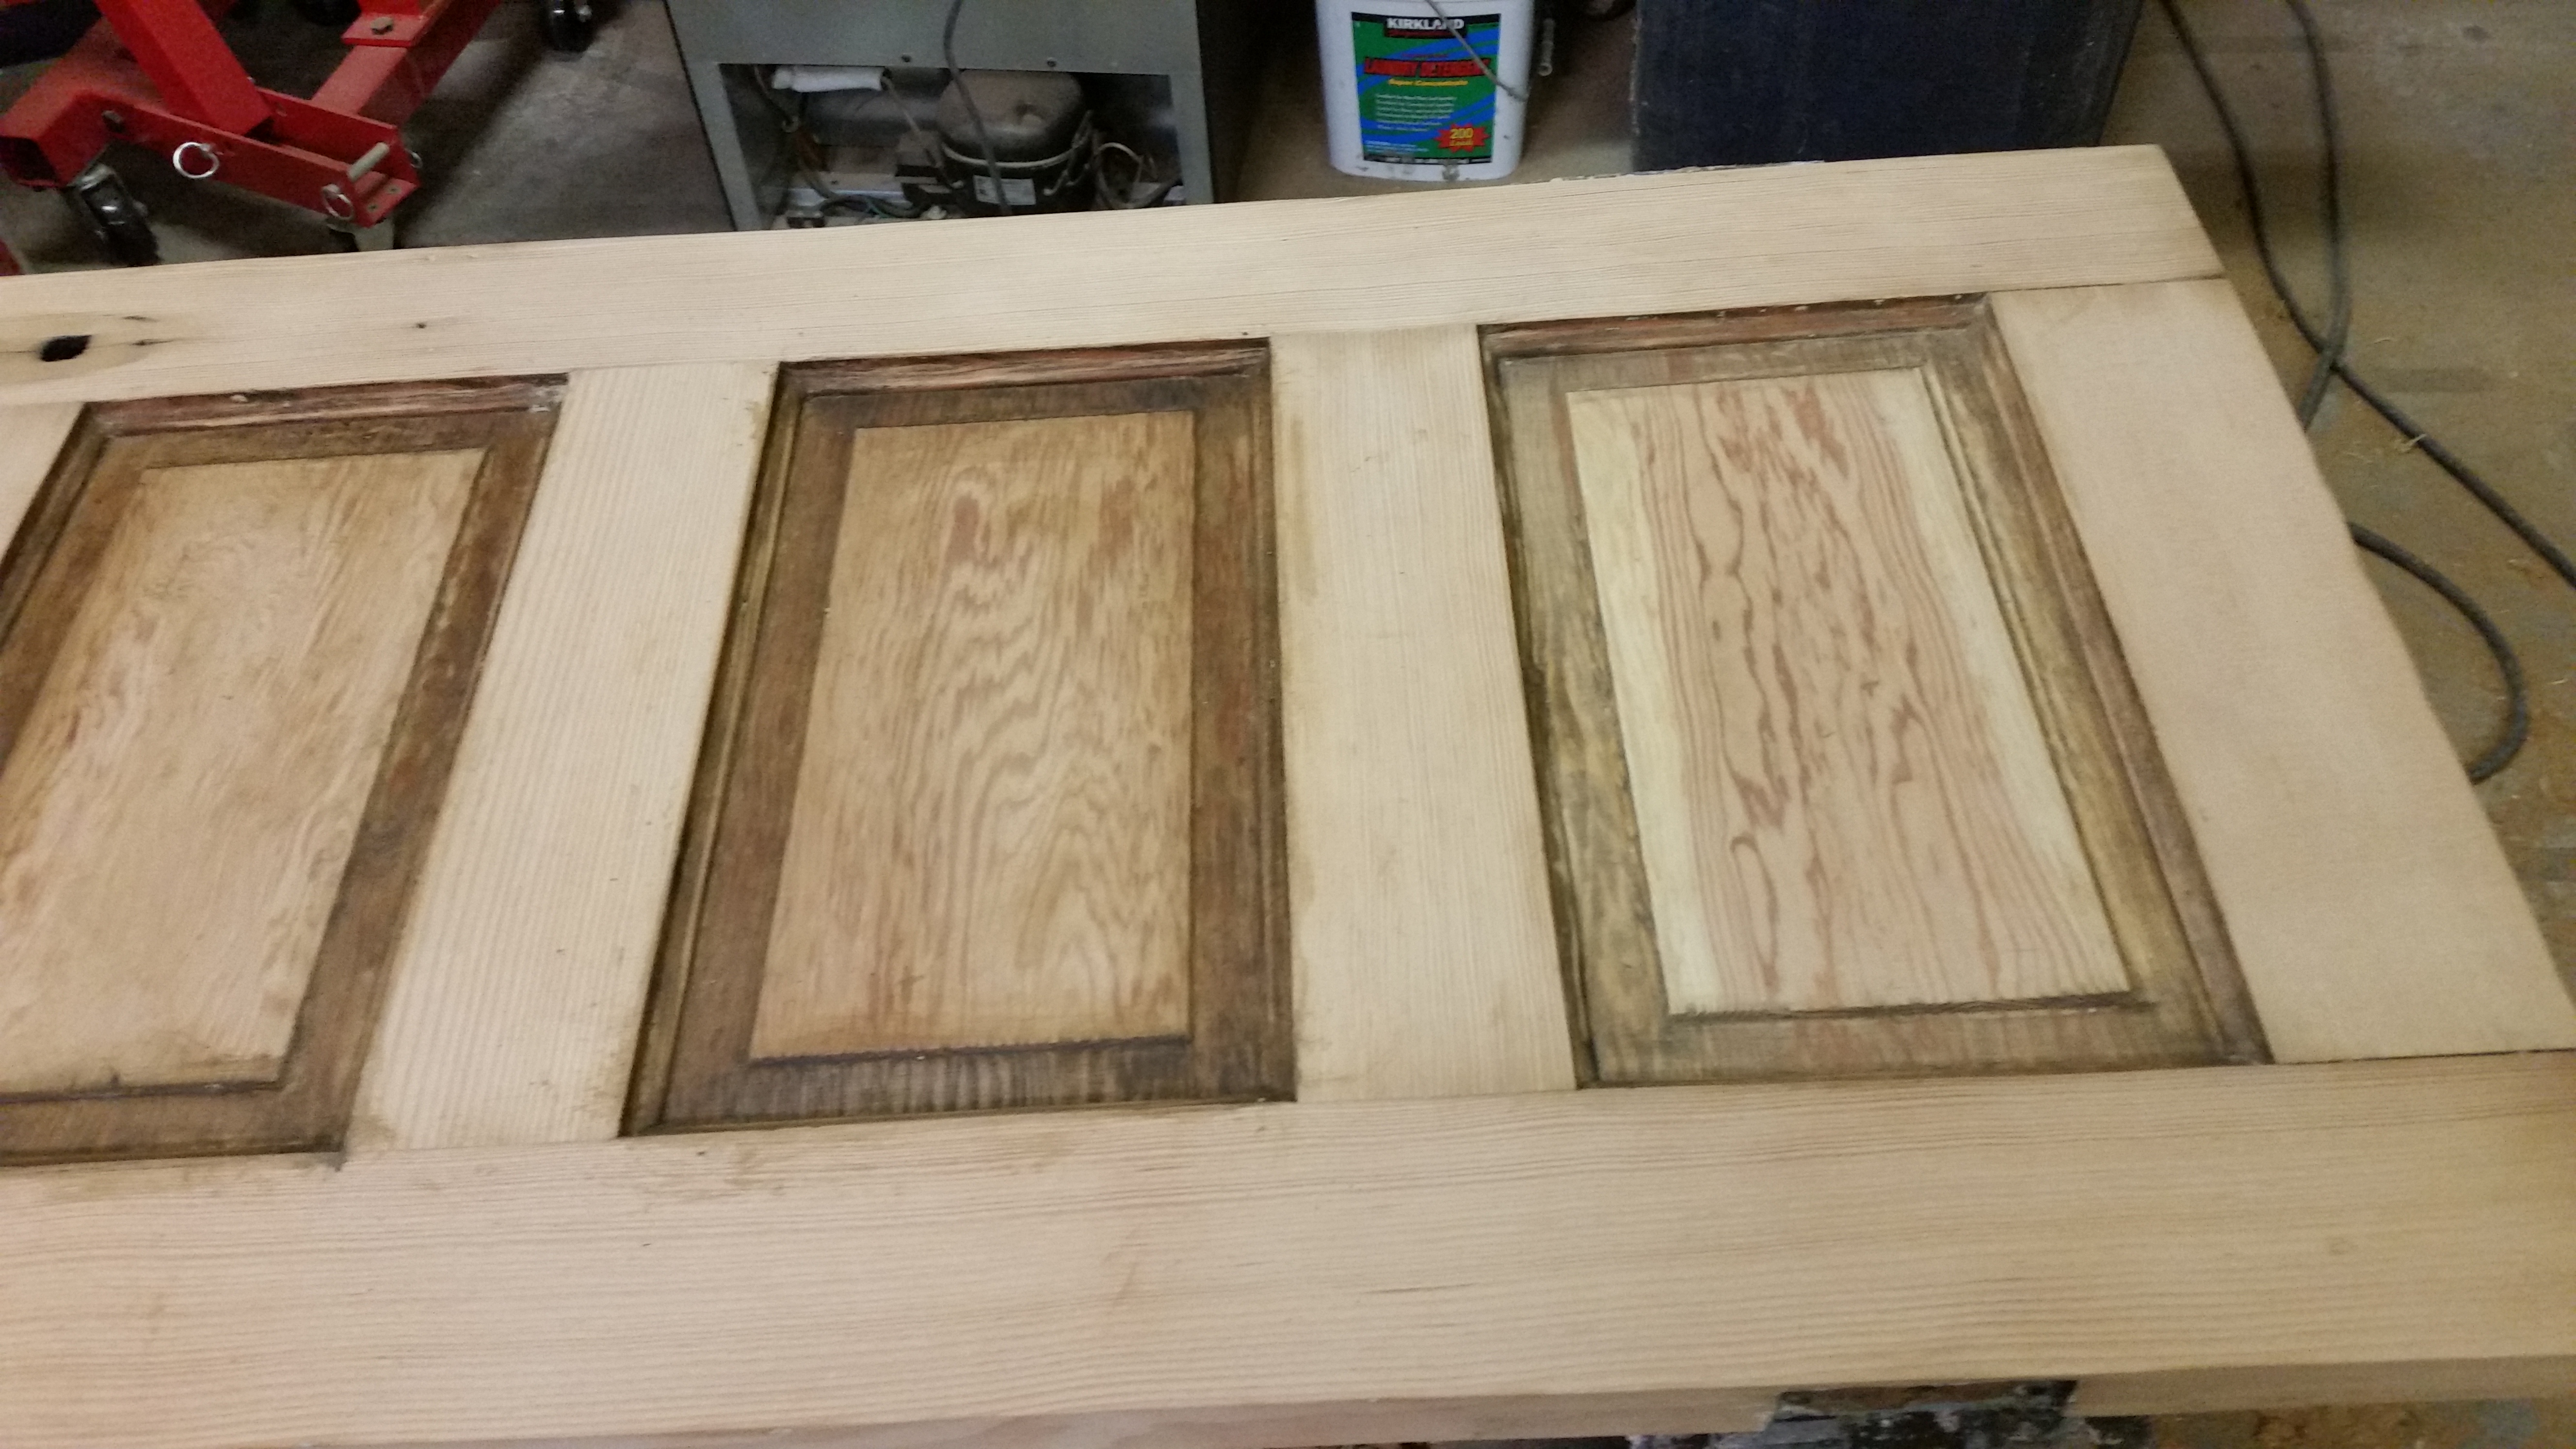
Back in the shop I prepared to strip the pieces.

Disassembled desk.
I usually use Jasco paint remover but this time I picked up some Klean Strip and while it did the job it didn’t seem quite as effective as the Jasco product. I did three applications to get the pieces completely stripped to bare wood. I then wiped everything down with lacquer thinner before letting it dry for a day. I then began sanding all the pieces which went pretty well. It helps a lot to take your time and let the stripper do its job.
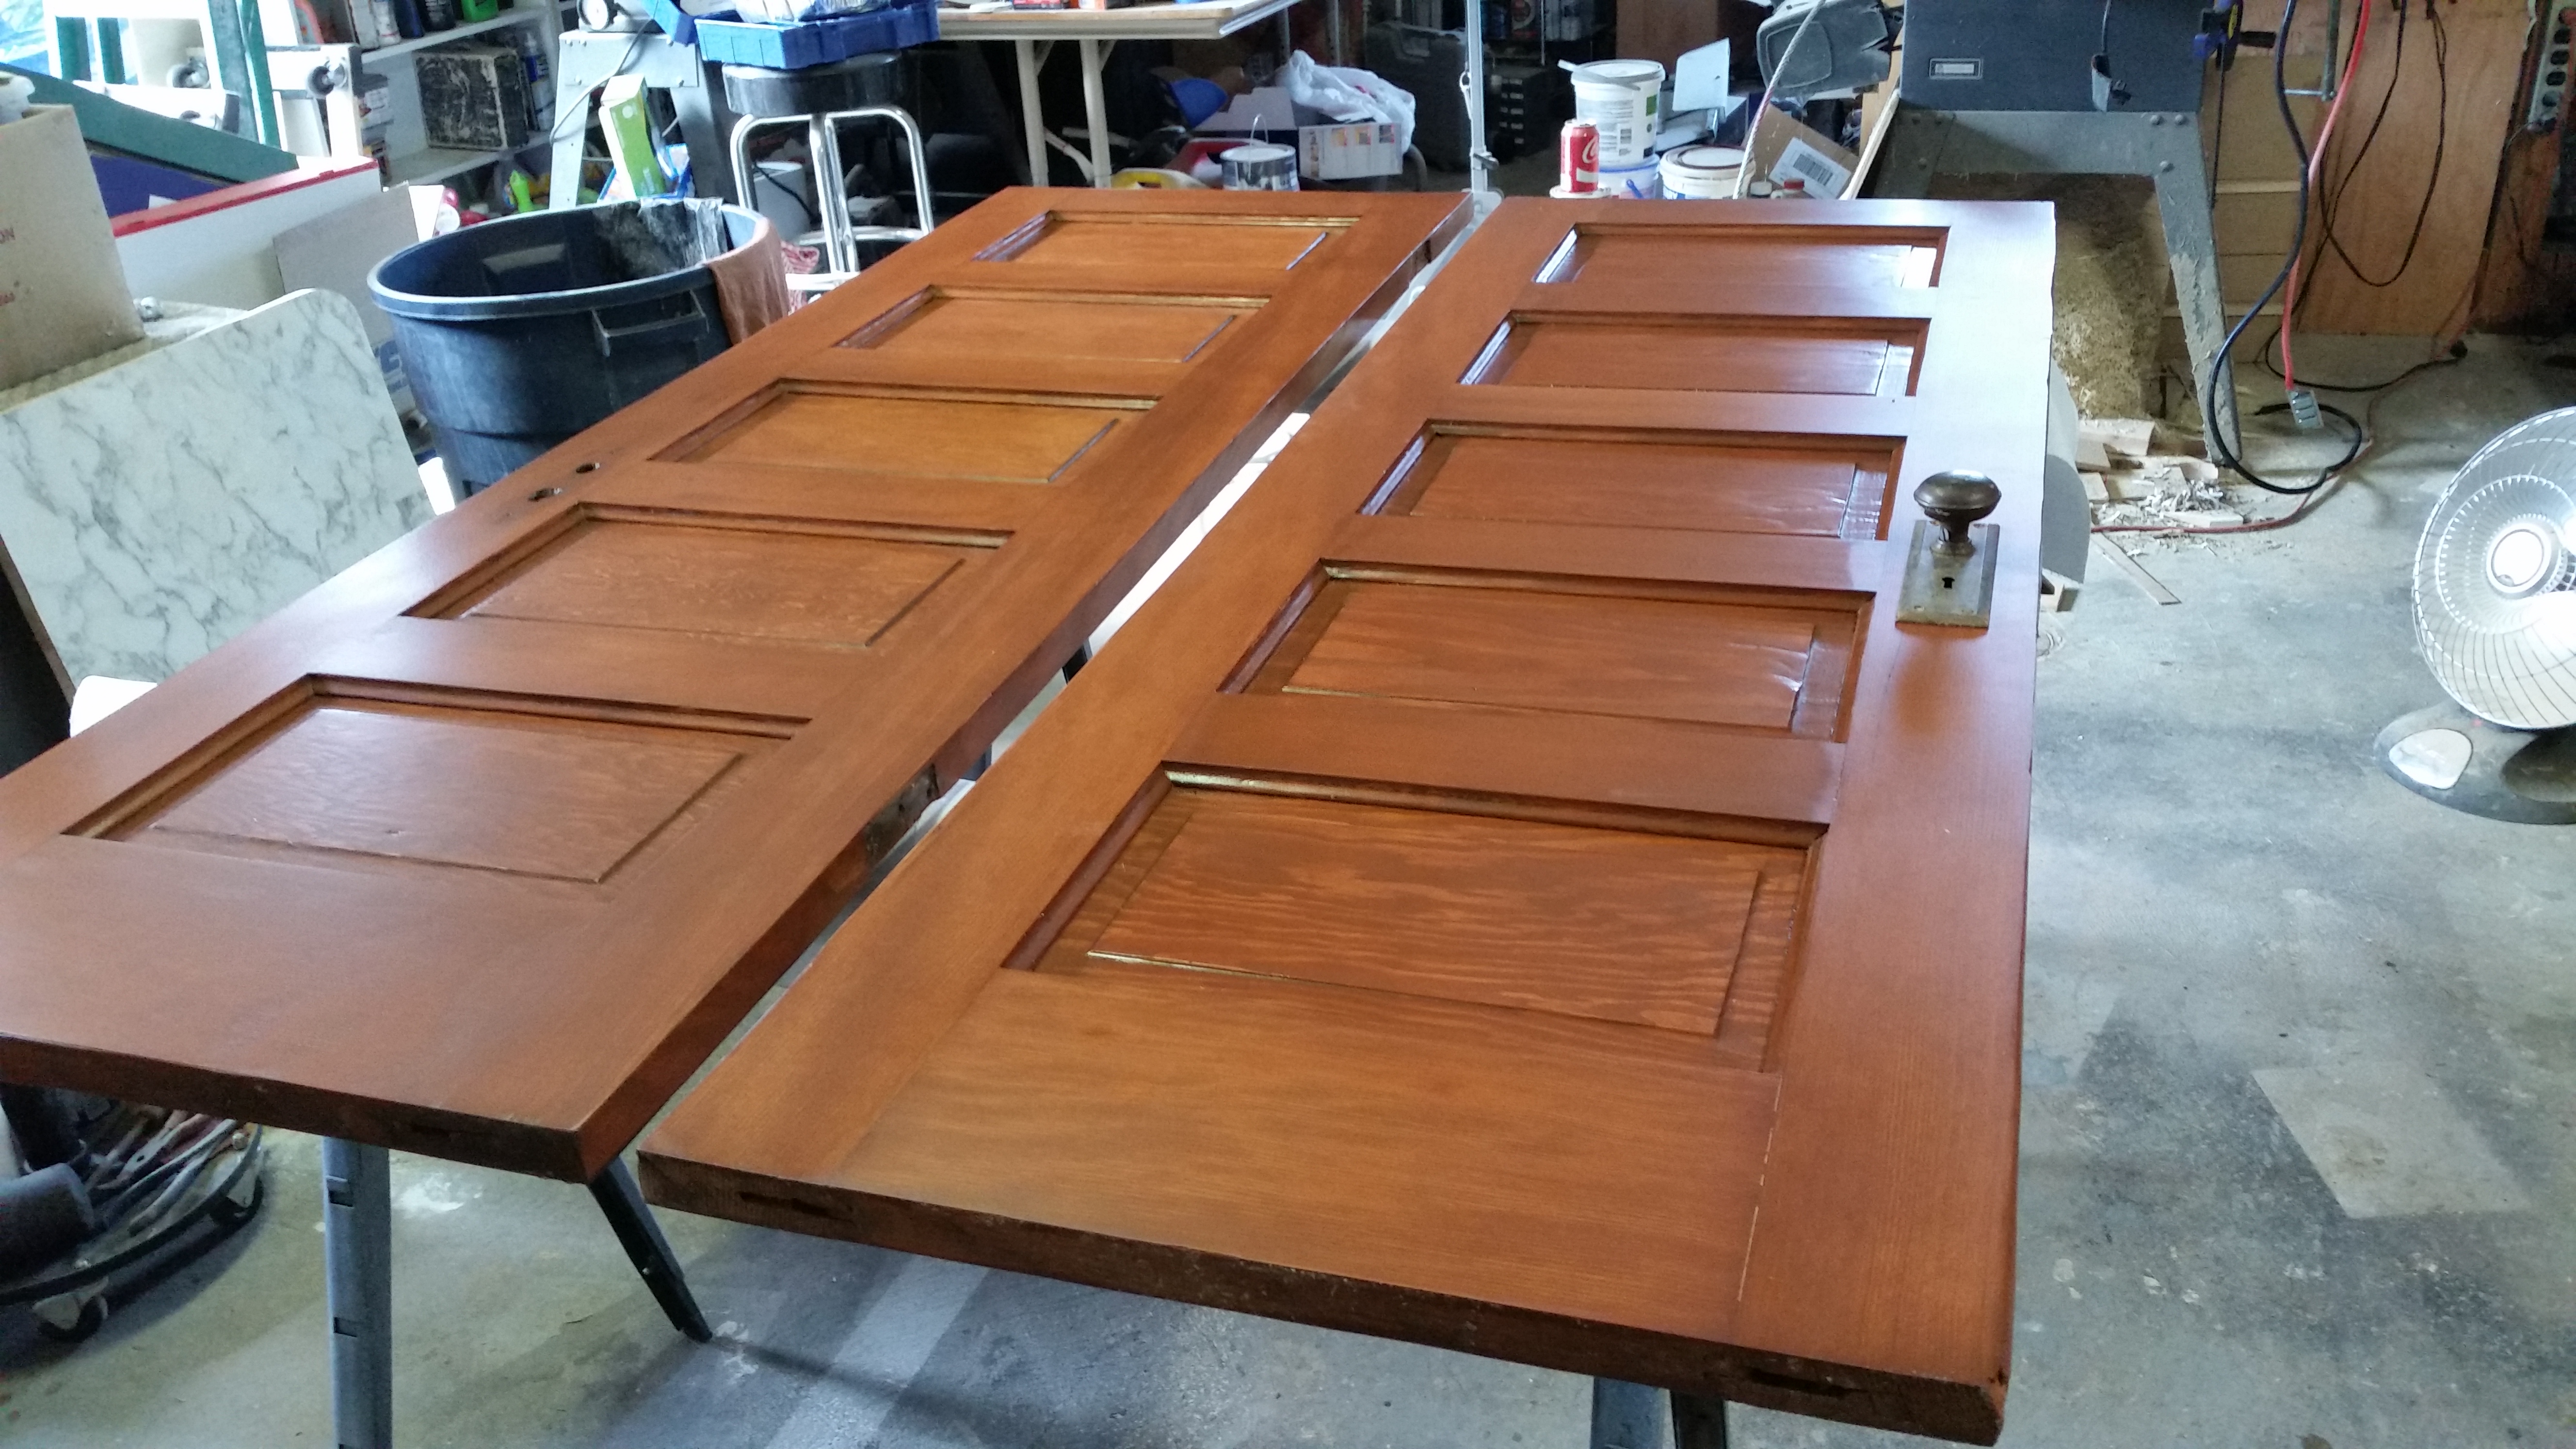
While sanding I found that one of the leg corners was badly worn. I also realized that the desk is veneered so off to Woodcraft to find some matching veneer. I first patched the worn corner with Plasti Wood then sanded the corner contour to match the others then I fitted and applied the new veneer and clamped it up real good and let it set overnight. The next morning I trimmed the veneer to the form of the leg and filled what seams were visible. Finally time for stain. I generally use Minwax Wood Stain and started with a base of their Red Mahogany then added 30% Dark Walnut.
Up until this point our intention was to replace the top with granite or marble but curiosity got the better of me. This desktop was pretty heavy and I just needed to know what all was underneath that linoleum. Using my heat gun and a stiff putty knife I began to remove the linoleum only to reveal hints of a beautiful veneered oak top. The linoleum came off pretty easy but it took a little more effort to get all the adhesive. In a couple of areas I pulled a little grain but all in all it cleaned up very well. It wasn’t hard to convince the customer to go with the original wood top.
After all the pieces were stained I applied three coats of Minwax Polycrylic. All the visible hardware was brass and had been removed for refinishing the desk. I cleaned brass with Brasso and #0000 steel wool and buffed on the buffing wheel then coated it all with a coat of lacquer.

The desk turned out beautiful. The customer is happy and I’m happy!

0 Comments